From my experience the only thing that goes wrong with the front seat back pockets is the top bungie cord that holds the net up wears out (loses its “spring”) and sags badly. When was the last time you saw a 1973 to early 1990's seat back netting that was NOT sagging??? Look at the before and after difference in a 1983 240D (image 1) It does not take a trained eye to know how much better the left one looks (fixed first) from the seat back panels in a 1990 190E. (image 2)
Product Details
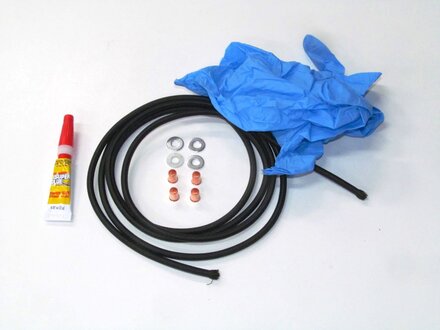
Sometimes just finding the right bungie cord material can be frustrating. Then knowing how to remove the seat back and replace it can be challenging. This kit contains enough proper-sized bungie material to do ONE set of front seats (along with an extra seat length piece just incase you make a mistake). The PDF instructions will take you step by step through the process of removing the seat back and repairing your sagging netting with new cord. The video instructions will show you in detail how to remove the netting and use the crimping sleves on the newer style seats with the pastic frame around the netting. A set of gloves are included. NOTE: Even a tube of special glue is included to make sure the repair remains permanent!
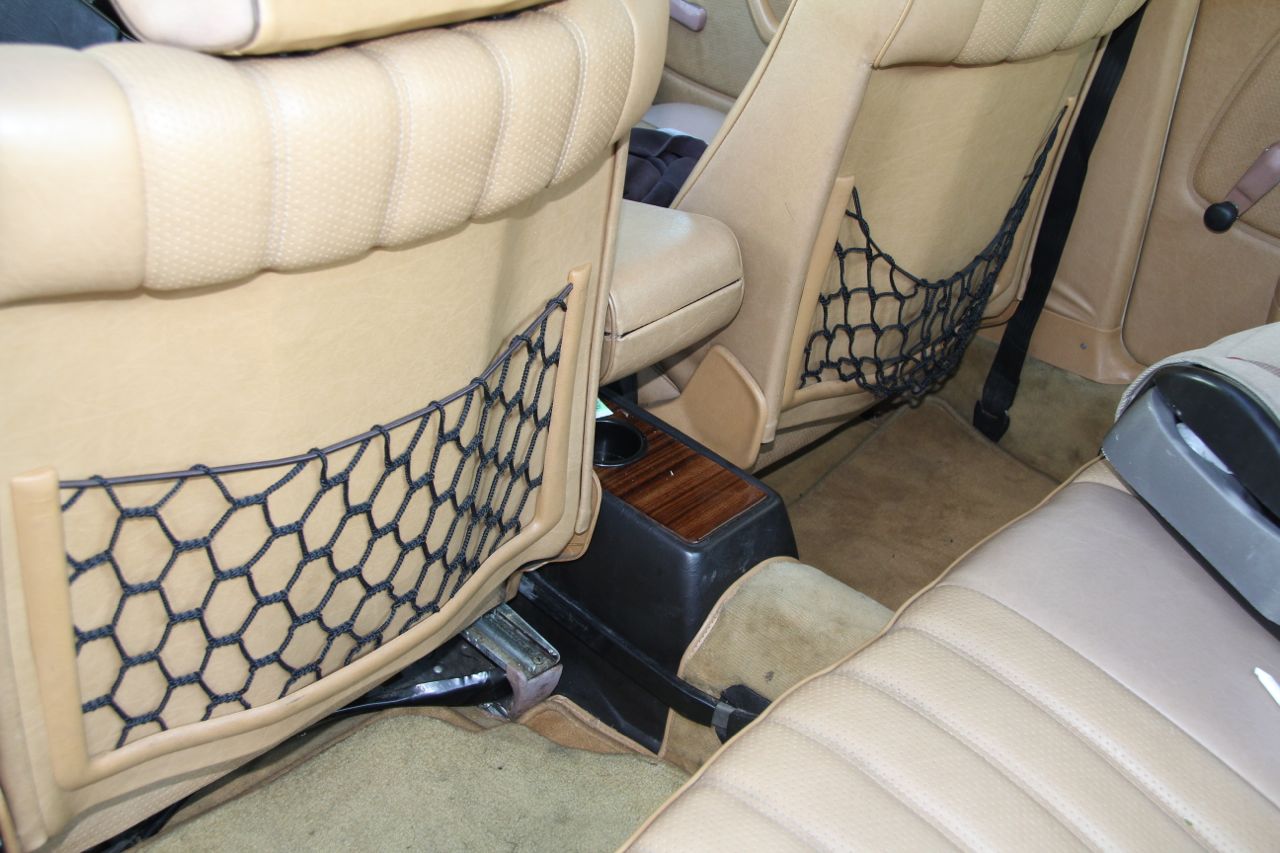
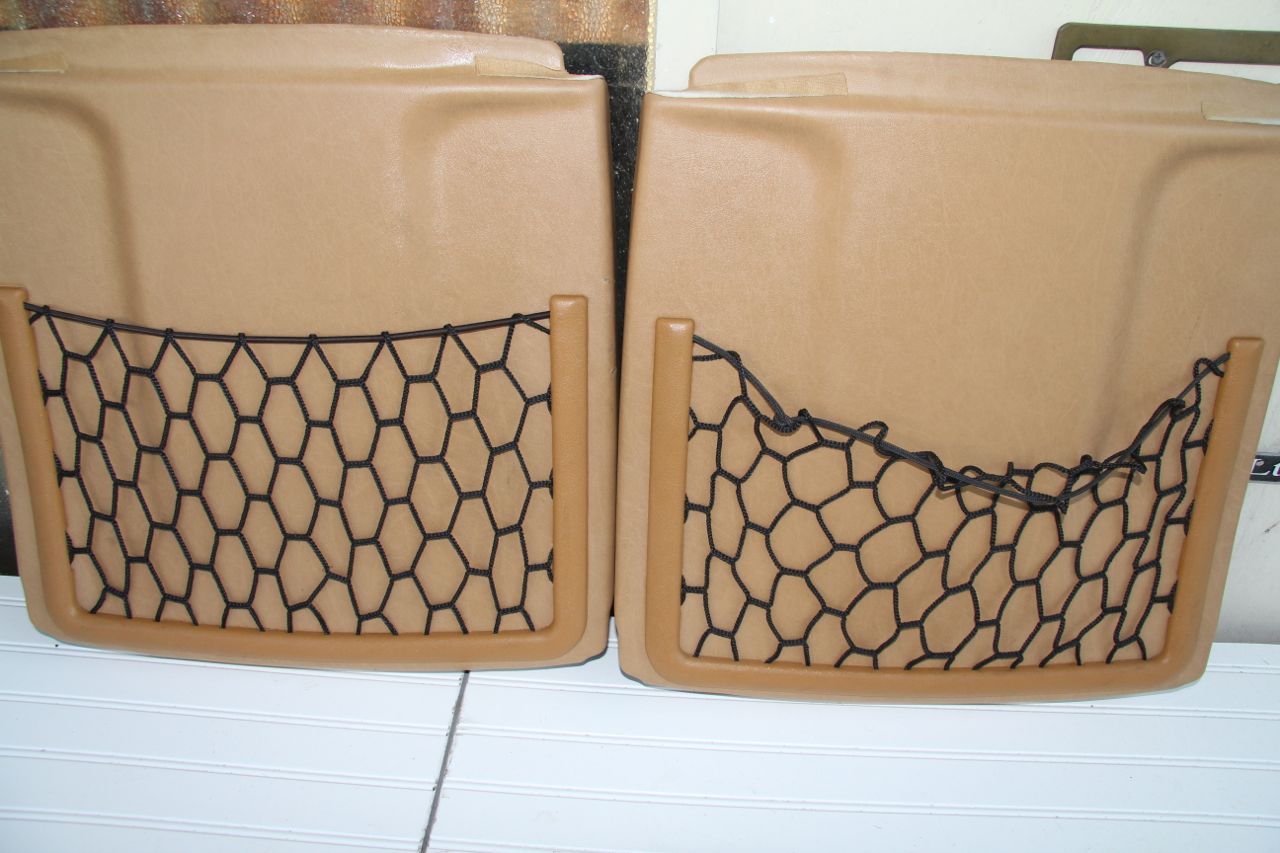
Following the written and video instructions by Kent makes this is an easy D.I.Y. job. Let's rid the world of sagging seat back pockets!
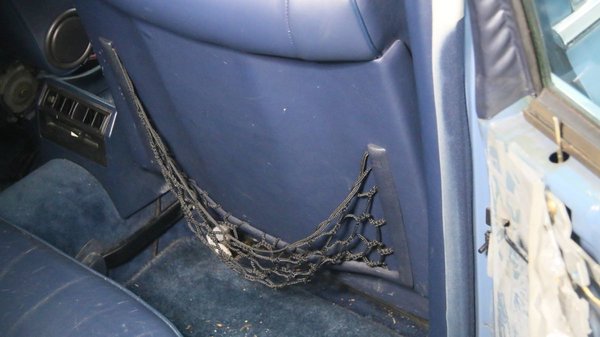
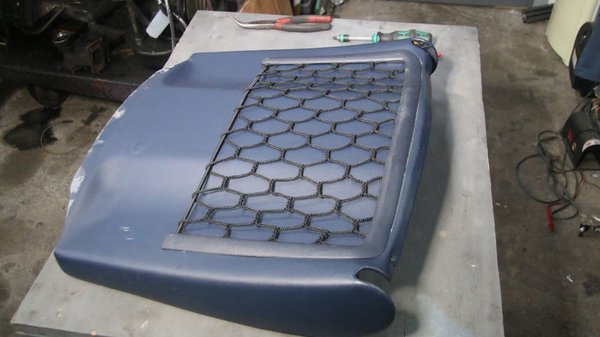
The pictures below show the back seat panel off a W116 and early W123. The metal washers included in the kit are used on these net pockets.
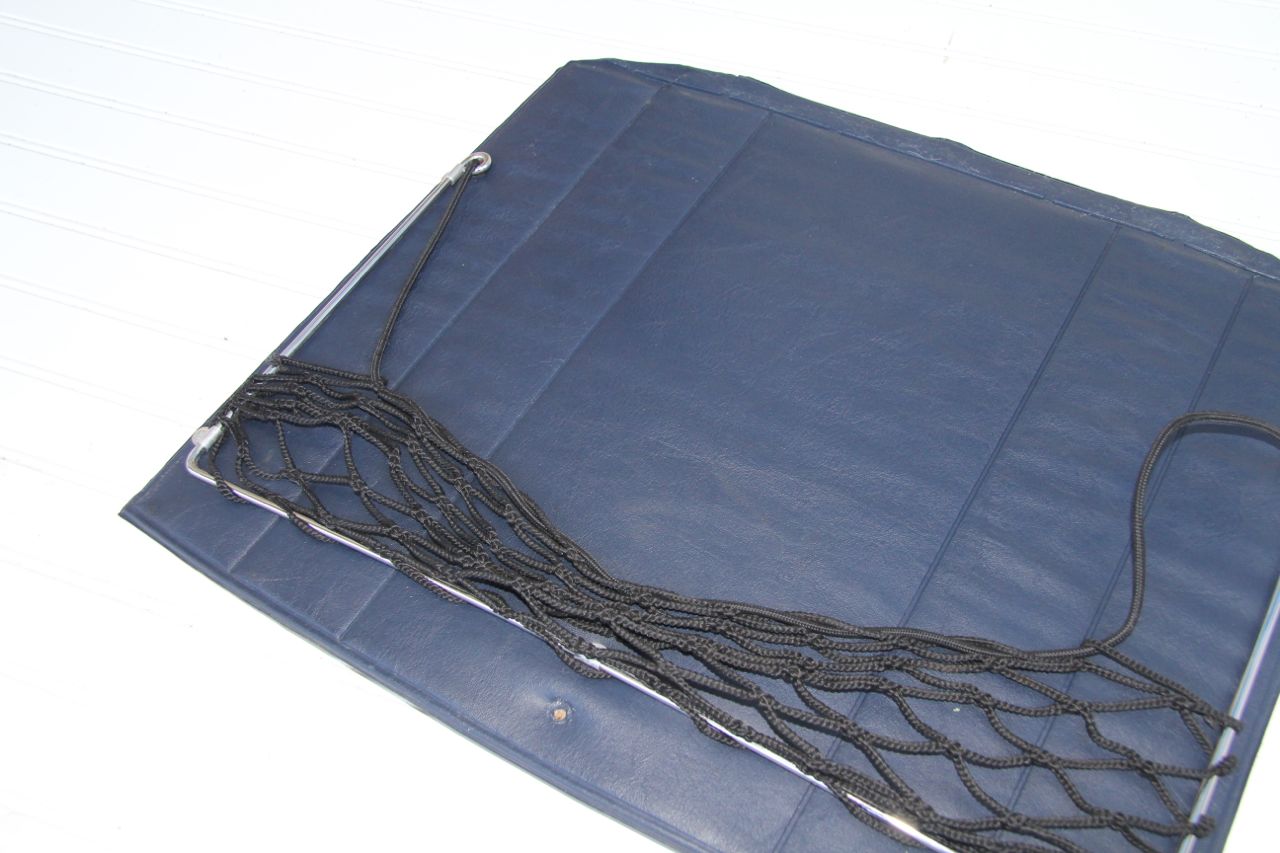
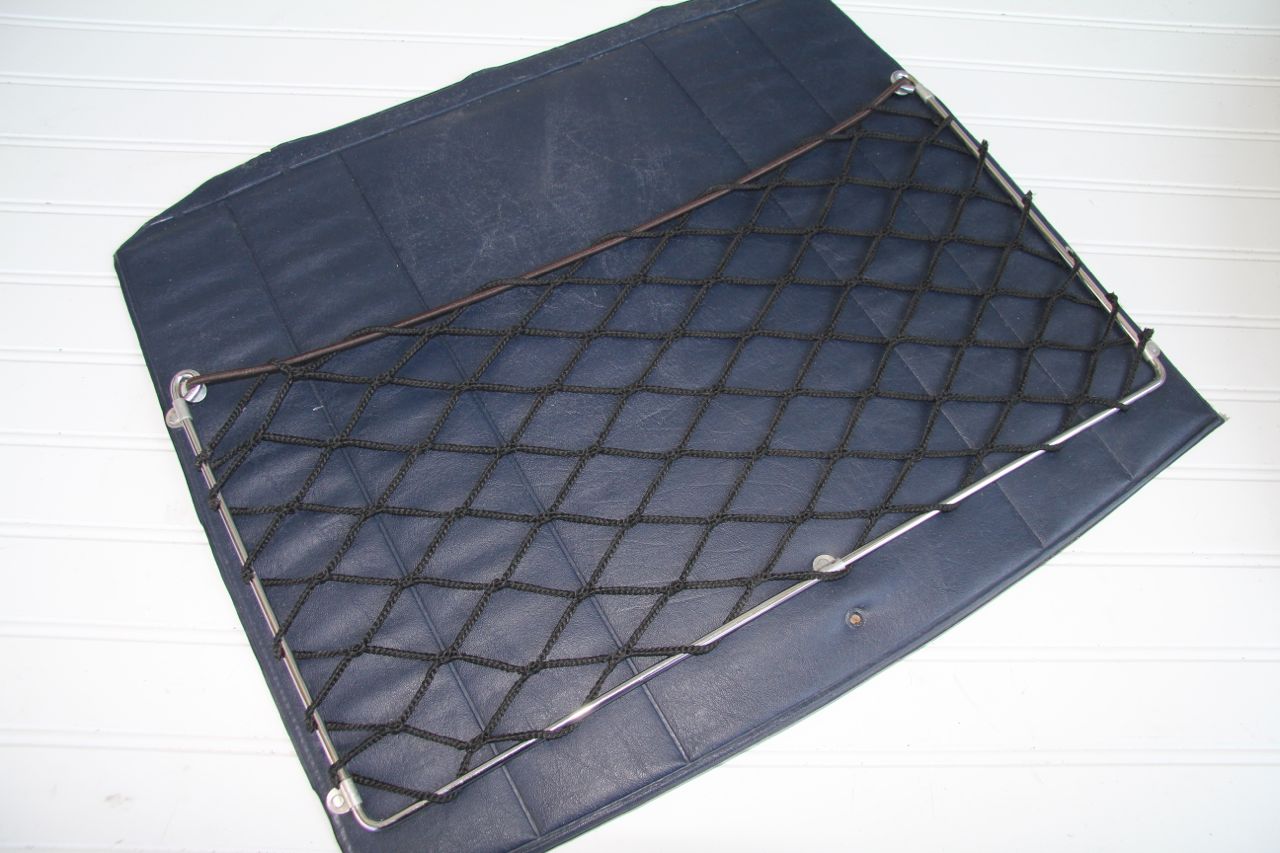
_______________________________________________________________________________
How to view the PDF digital instructions:
Once you complete the purchase of this product you will be able to download the digital instructions immediately when you are logged in and on your personal account page (click on My Account). Any PDFs will show up under My PDF Manuals. You will be allowed three downloads, so please save the file on your machine for backup.
_______________________________________________________________________________